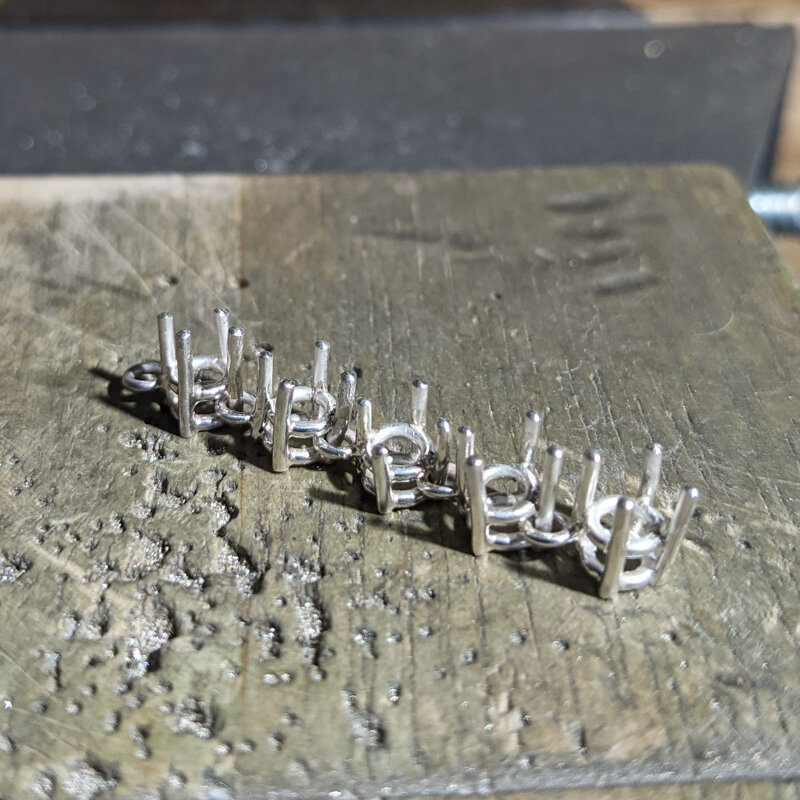
Tennis Bracelet Links
This is a project from Stage 9 of the Apprentice program at Jewellery Training Solutions, a stage dedicated to advanced soldering skills and construction. This was not a complete project, but taught us how to make two different styles of connected links for a tennis bracelet, something I’ve always wanted to be able to make myself!

What were the challenges?
The most challenging part of the first set of links was soldering on the tiny ring that connects the links. In the second set of links, the hardest part was soldering the tiny connecting piece that you bend into the bottom of each setting - getting the solder to flow without flowing up and over so it solders the two links together (as I did in the first two links). We were only required to make five links, but I made more since I wanted to make sure I could actually do this soldering step and it wasn’t just an accident that it worked! These lessons were definitely all about heat control.
Where could I improve?
In the first set of links, some of the top rings are not completely level, and they are at slightly different heights. The other links came out pretty well, but there are a few extraneous saw marks from where the saw skipped out of place.
What did I learn?
I really enjoyed learning how to make both of these types of links. I would like to continue the second one and make a bracelet for myself, time permitting. I want to use the first technique to make a graduated pendant and earrings. I really enjoy doing these small, precise projects.