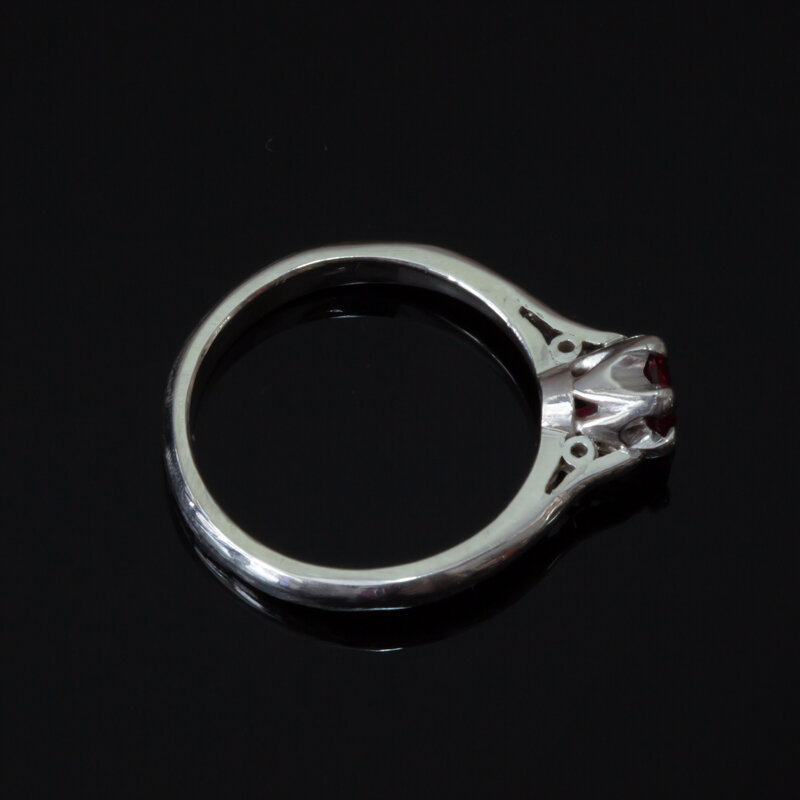
Traditional Solitaire Ring
This is the first project from Stage 9 of the Apprentice program at Jewellery Training Solutions, a stage dedicated to multi-stone jewelry and precision construction projects. I expect this level to be challenging!

What were the challenges?
I actually found one of the most difficult parts of this project to be getting the small pieces of tubing soldered in the shoulders! That solder just didn’t want to flow to the right spot. I also struggled with making the bezel - took me at least four tries. The tapered bezel block and I just don’t get along very well. Symmetry on this one was difficult, as well.
Where could I improve?
My intention was to make this ring for a 6 mm stone, but when setting I found the setting to be too small so I had to switch to a 5 mm stone. I think the larger stone would have looked better, but it was a good learning experience. Symmetry is a little bit off on the claws.
What did I learn?
I really enjoyed learning how to make this traditional setting! I also learned that when making a tapered claw setting, the stone should sit just at the edge of the claws. I had the stone so it sat about 1/3 of the way in to the claws, so when I cut the seat for the stone, the setting was too narrow (due to the taper). It’s unfortunate, since this is the first time that I feel like the seat was just the right shape for the stone!
Note: This ring is set with a simulated garnet.